HarmonyOS Development: How to Update Object Array
Foreword
this article is based on Api13
before, I packaged a list refresh library and it has been running for a long time. However, I recently received a problem, saying that when updating a certain data in the list, I found that the data did not change. When I received the problem, I immediately entered the investigation. Finally, I found that the use was not implemented according to the specifications. The occurrence of this problem is the common object array update problem in development, just simply record it.
We know that for an array of a basic type, we can directly make changes that affect the data. For example, in the following case, a simple array load uses the @ State Decorator. After clicking the button, we can find that the data with index 0 in the array has changed.
  @Entry
  @Component
  struct Index {
    @State items: string[] = ["条目一","条目二","条目三"]

    build() {
      Column() {
        ForEach(this.items, (item: string) => {
          Text(item)
            .height(30)
        })
        Button("修改数据")
          .onClick(() => {
            this.items[0] = "这是条目一修改后的数据"
          })
      }.width("100%")
        .alignItems(HorizontalAlign.Center)
    }
  }
In the above case, we changed the basic type array to an object array. As shown in the following code, we can find that the data has not changed after clicking the button.
class TestBean {
  name?: string

  constructor(name: string) {
    this.name = name
  }
}

@Entry
@Component
struct Index {
  @State items: TestBean[] = [
    new TestBean("条目一"),
    new TestBean("条目二"),
    new TestBean("条目三")]

  build() {
    Column() {
      ForEach(this.items, (item: TestBean) => {
        Text(item.name)
          .height(30)
      })
      Button("修改数据")
        .onClick(() => {
          this.items[0].name = "这是条目一修改后的数据"
        })
    }.width("100%")
    .alignItems(HorizontalAlign.Center)
  }
}
Object form is the most common way in development, and updating data is also common, such as the selected status in entries. Although the above code does not use List components such as List, there is a typical problem, that is, why can the basic array be updated while the object array cannot be updated?
This is because the @ State decorator can only observe changes in the first layer, while changes in the properties of the second layer cannot be observed. If you want to update the object, you need to use the @ Observed/@ ObjectLink decorator.
If I don't use the @ Observed/@ ObjectLink decorator, can't I update it? Let's make a rhetorical question here. We'll focus on an overview later. Let's use decorators in the traditional way to see how to update the array of objects.
@ Observed/@ ObjectLink Use
first, add the @ Observed decorator to the object
@Observed
class TestBean {
  name?: string

  constructor(name: string) {
    this.name = name
  }
}
the second step, view extraction subassembly
@Component
struct TextView {
  @ObjectLink item: TestBean

  build() {
    Text(this.item.name)
      .height(30)
  }
}
the third step is to change to subcomponents.
@Entry
@Component
struct Index {
  @State items: TestBean[] = [
    new TestBean("条目一"),
    new TestBean("条目二"),
    new TestBean("条目三")]

  build() {
    Column() {
      ForEach(this.items, (item: TestBean) => {
        TextView({ item: item })
      })
      Button("修改数据")
        .onClick(() => {
          this.items[0].name = "这是条目一修改后的数据"
        })
    }.width("100%")
    .alignItems(HorizontalAlign.Center)
  }
}
After the above steps, we click the Next button again to find that the data in the object array has changed:
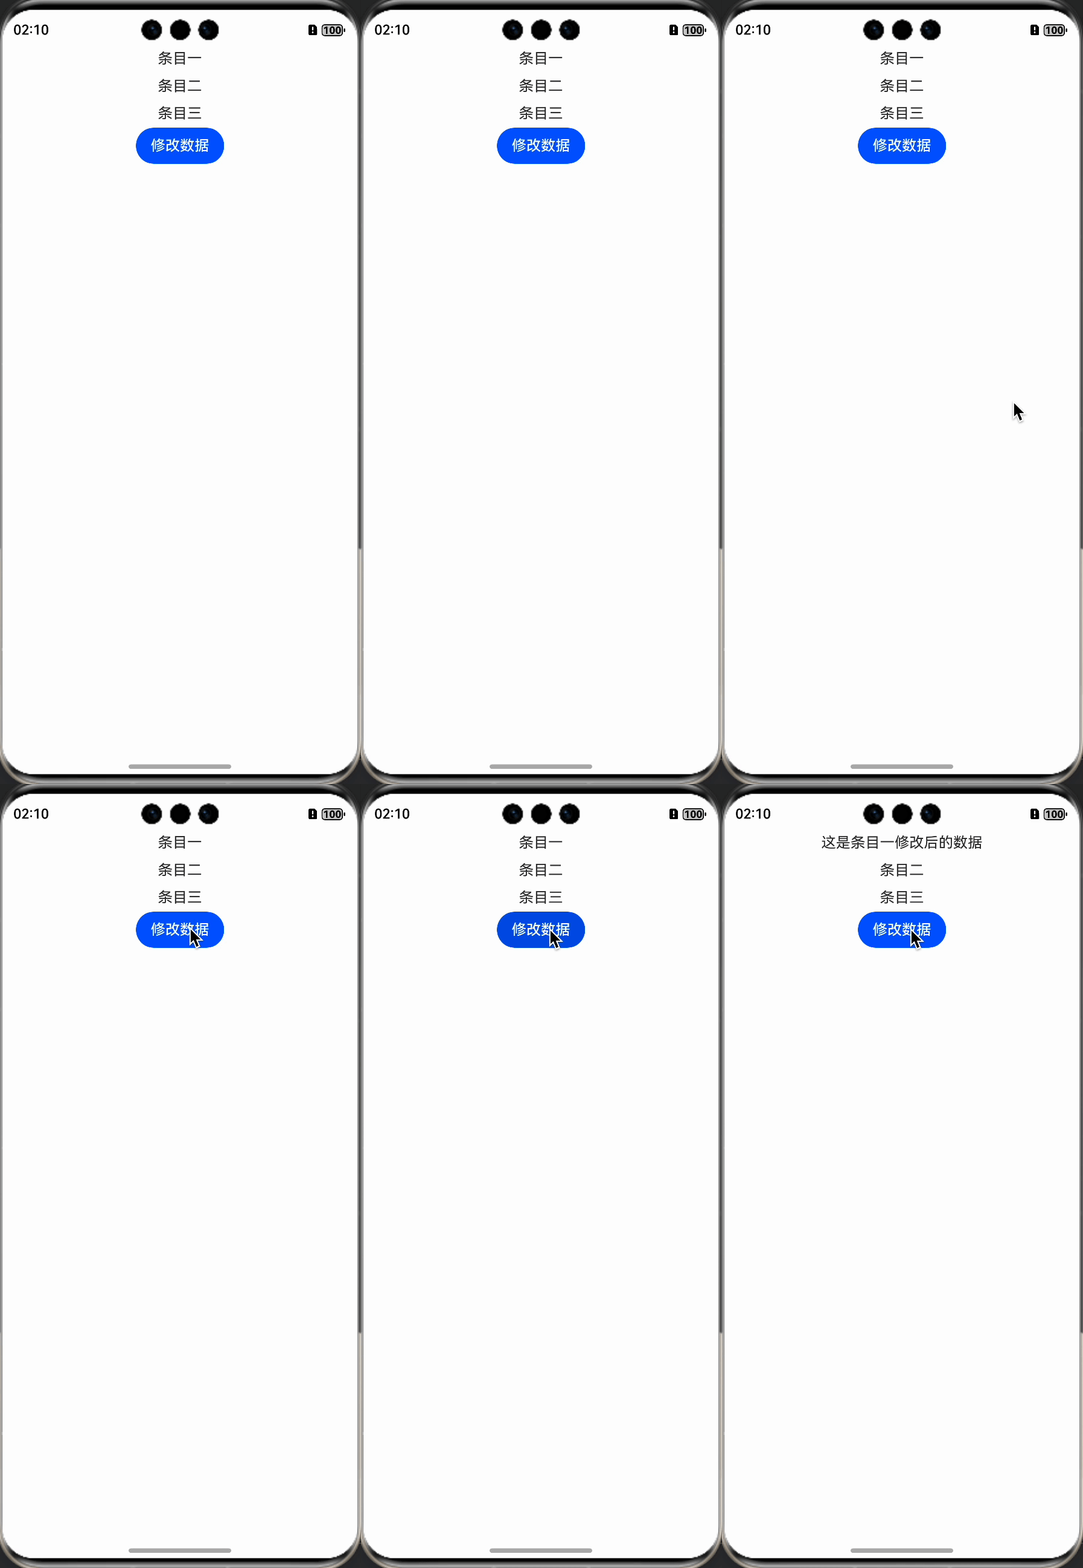
@ Observed/@ ObjectLink is used together, mainly for observation of nested scenes, to make up for the limitation that decorators can only observe one layer. However, we can find that in order to update object data, we need to remove subcomponents and do object observation. I am just a simple component. I don't want to be so troublesome. Can I update object data? Obviously it can.
Array Update
1. Entire object assignment
for an object with a simple element, we can get the array and update it directly for the corresponding index. The code is as follows: Let the new object assign to the specified index.
class TestBean {
  name?: string

  constructor(name: string) {
    this.name = name
  }
}

@Entry
@Component
struct Index {
  @State items: TestBean[] = [
    new TestBean("条目一"),
    new TestBean("条目二"),
    new TestBean("条目三")]

  build() {
    Column() {
      ForEach(this.items, (item: TestBean) => {
        Text(item.name)
          .height(30)
      })
      Button("修改数据")
        .onClick(() => {
          this.items[0] = new TestBean("这是条目一修改后的数据")
        })
    }.width("100%")
    .alignItems(HorizontalAlign.Center)
  }
}
After we run, we can find that the data has also changed. The advantages of this method update are obvious, with low time complexity (O(1)), concise and intuitive code, which is more in line with our regular ideas, and obvious disadvantages. If there are many object elements, the management is slightly troublesome. After all, it is updated for the whole object, not a single element of the object.
2. Single attribute assignment
In the first method, although the data update of the object array is realized, it is aimed at the whole object instead of a certain attribute of a single object, which is very inconvenient for the scene of single attribute update. Some students may think that we can first obtain the object of a certain index, and after modifying a certain attribute, can we assign the value again? Well, it sounds like no problem. Let's verify it:
let bean = this.items[0]
bean.name = "这是条目一修改后的数据"
this.items[0] = bean
after we run the above code, we can find that it does not take effect, because the object is still the original object and its reference address has not changed. In order to update it, we can delete the data at this position first and then add it, that is, delete the data at this position first and insert another piece of data at the same position, which realizes the dynamic change of the data. In fact, in the array, one method has been provided for us, and that is the splice method.
The splice method is a built-in function of the array object, mainly used to modify the contents of the array, it can be implemented, insert elements: you can insert one or more elements into the array at the specified position; You can also delete elements: you can delete one or more elements at the specified position; You can also replace elements: you can delete elements at the specified position and insert one or more new elements.
splice(start: number, deleteCount: number, ...items: T[]): T[];
start: indicates the starting index position (counted from 0) to be modified.
deleteCount: indicates the number of elements to be deleted, if 0, no elements are deleted.
... items: T[]: The element to be inserted into the array.
We use the splice method optimizes the above code, or in the above case, we update the data with element 0:
let bean = this.items[0]
bean.name = "这是条目一修改后的数据"
this.items.splice(0, 1, bean)
after running, you can find that the data in the object array has changed.
Related Summary
Regarding the data update in the object array, there are currently three methods, one is the traditional decorator method, and the other two are the methods of operating on the data source and directly assigning values to the data source, suitable for simple, high-frequency single-element modification, optimal performance and type safety, while splice method it is suitable for complex operations or scenarios that need to keep references stable, but pay attention to performance loss. In actual development, you can choose your own suitable method according to your needs.